

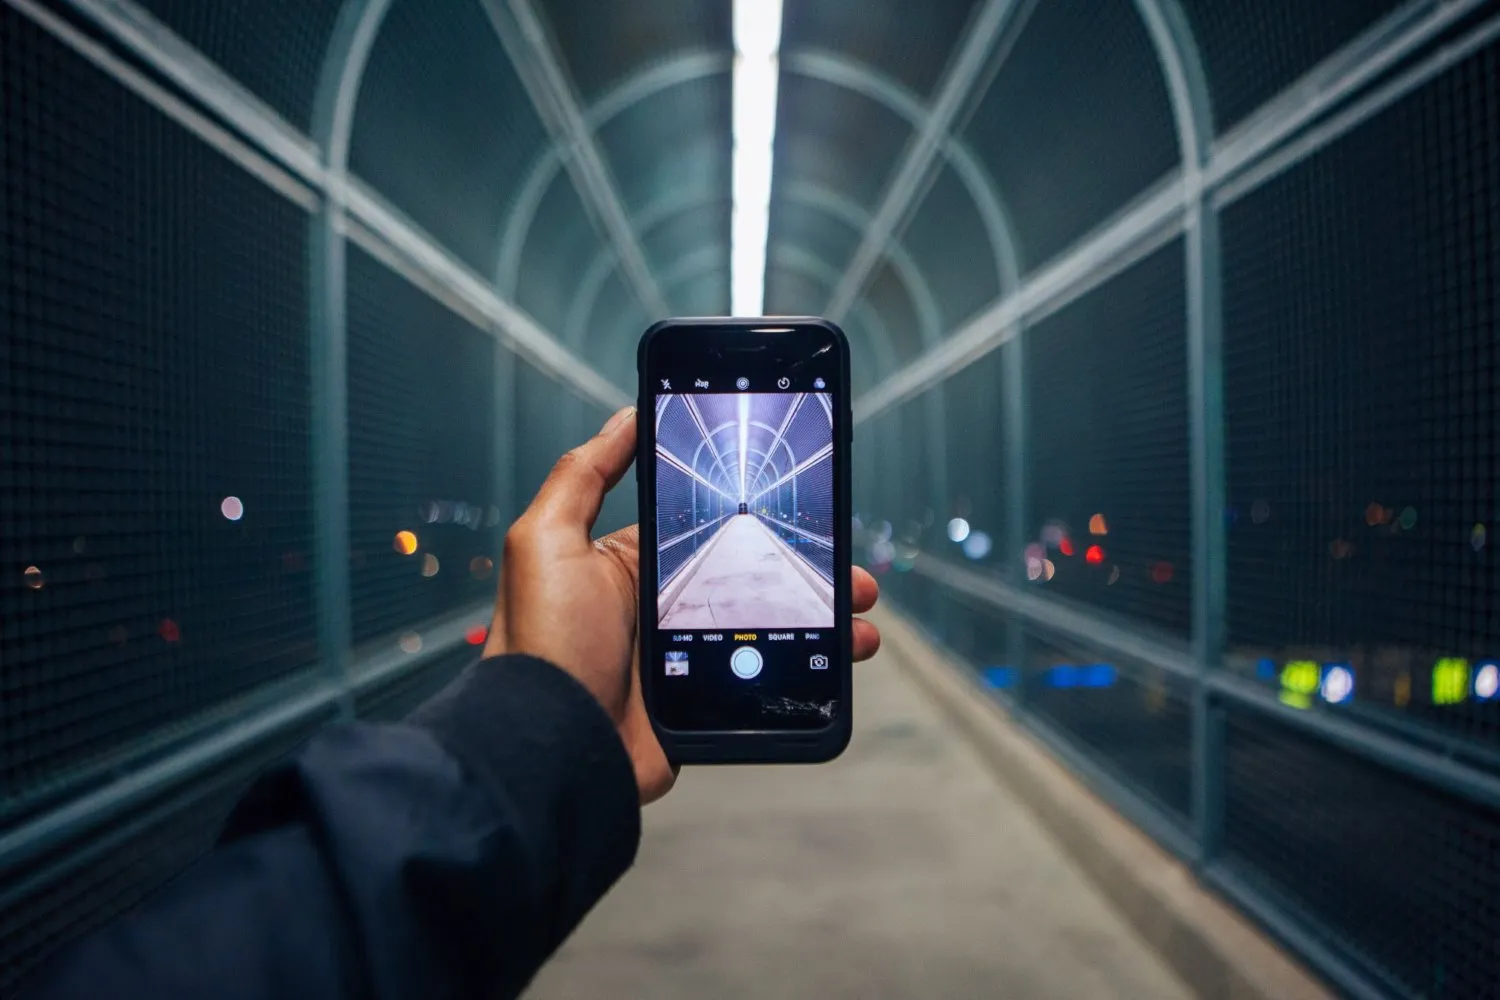

You do not need an expensive camera to take beautiful photos. Today, most smartphones come with powerful cameras that can capture sharp, colourful, and creative images. However, having a good camera does not automatically make someone a good photographer. Learning a few simple techniques can make a big difference.
- 1. Learn Your Smartphone Camera
- 2. Clean Your Camera Lens
- 3. Pay Attention to Lighting
- 4. Keep Your Phone Steady
- 5. Use the Grid to Improve Composition
- 6. Avoid Digital Zoom
- 7. Tap to Focus
- 8. Try Different Angles
- 9. Keep the Background Simple
- 10. Use Portrait Mode Carefully
- 11. Learn to Photograph People Naturally
- 12. Take Advantage of Reflections
- 13. Try the Golden Hour
- 14. Do Not Forget Night Photography
- 15. Edit Your Photos, But Keep Them Natural
- 16. Take More Than One Photo
- 17. Practise With Everyday Objects
- 18. Study Photos You Like
- 19. Tell a Story With Your Photos
- 20. Keep Practising
- Final Thoughts
- Frequently Asked Questions
If you are new to photography, your smartphone is a great place to start. It is always with you, easy to use, and gives you the chance to practise almost anywhere. In this guide, you will learn practical smartphone photography tips for beginners that can help you take better pictures without complicated equipment.
1. Learn Your Smartphone Camera
Before taking hundreds of photos, spend some time exploring your camera app. Look at the different camera modes and understand what each one does.
Most modern smartphones offer options such as:
- Portrait mode
- Night mode
- Panorama
- Slow motion
- Wide-angle photography
- Video recording
- Different zoom levels
You do not need to master everything at once. Start with the basic photo mode and gradually experiment with other features.
Also, check your camera settings. If your phone allows you to change image resolution, grid lines, aspect ratio, or other settings, learn how they work. Knowing your camera will help you make better decisions when taking pictures.
2. Clean Your Camera Lens
This sounds like a small thing, but it can completely change your photos.
Because smartphones spend most of the day in our hands, the camera lens can collect fingerprints, dust, and oil. A dirty lens can make images look blurry, hazy, or less colourful.
Before taking an important photo, gently clean the lens with a soft cloth. Avoid using rough materials that could scratch the surface.
This simple habit can instantly make your smartphone photos look clearer.
3. Pay Attention to Lighting
Lighting is one of the most important parts of photography. Even a good smartphone camera can struggle when the lighting is poor.
Whenever possible, use natural light. Daylight coming through a window can create beautiful indoor photos. When taking pictures outside, look for soft and even light.
Avoid extremely strong light directly behind your subject unless you want a silhouette effect. If the sun is very bright, try photographing during the morning or late afternoon when the light is softer.
For indoor photography, move your subject closer to a window instead of relying completely on the phone’s flash.
4. Keep Your Phone Steady
A shaky phone can create blurry images, especially in low-light conditions.
Hold your smartphone with both hands when possible. Keep your elbows close to your body and gently press the shutter button.
You can also lean against a wall, table, or another stable surface for extra support.
For night photography, keeping the phone steady is especially important because the camera often needs more time to capture enough light.
5. Use the Grid to Improve Composition
Many smartphone cameras have a grid option. Turn it on if you are learning photography.
The grid can help you understand composition and keep your photos straight. It can also introduce you to the rule of thirds, a simple photography technique.
Imagine your screen divided into nine equal sections. Instead of placing your subject directly in the centre every time, try positioning it near one of the grid lines or where two lines meet.
This can make your images feel more balanced and interesting.
6. Avoid Digital Zoom
One of the easiest smartphone photography mistakes is using too much digital zoom.
When you zoom in digitally, your phone may enlarge the image rather than actually bringing the subject closer. This can reduce detail and make the photo look blurry.
Instead, move closer to your subject when it is safe and practical.
If your smartphone has a dedicated telephoto camera, you can use its optical zoom for better results. Still, avoid extreme zoom levels unless you really need them.
7. Tap to Focus
Your smartphone normally chooses what it thinks should be in focus. Sometimes, however, it chooses the wrong subject.
You can usually tap the screen on the person or object you want to keep sharp. This tells your phone where to focus.
For example, if you are photographing a flower in front of a busy background, tap the flower before taking the picture. This can help make the main subject clearer.
On many phones, you can also adjust brightness after tapping the screen. Experiment with this feature to avoid photos that are too dark or too bright.
8. Try Different Angles
Do not take every photo while standing straight in front of your subject.
Move around and experiment. Take a photo from a low angle, a high angle, or from the side. You can also try photographing through a doorway, between plants, or through another interesting object.
Changing your position can completely change the feeling of an image.
For example, a low-angle photo can make a building appear taller, while a high-angle picture can show more of a scene.
9. Keep the Background Simple
A beautiful subject can lose attention if the background is messy.
Before pressing the shutter, look behind your subject. Check for unnecessary objects, wires, piles of clothes, or anything else that might distract from the main focus.
You can often improve a photo simply by moving a few steps to the left or right.
A simple background helps viewers immediately understand what you want them to notice.
10. Use Portrait Mode Carefully
Portrait mode can create a blurred background that makes people and objects stand out. It can be useful for portraits, food, pets, and some close-up subjects.
However, do not use it automatically for every picture.
Portrait mode sometimes struggles with hair, glasses, small objects, or complicated edges. Take a normal photo as well and compare the results.
The best mode is the one that produces the most natural-looking image.
11. Learn to Photograph People Naturally
When photographing people, try to make them comfortable. Instead of asking them to pose stiffly, encourage natural expressions and movement.
Pay attention to the light on their face. Soft light is often more flattering than strong sunlight directly overhead.
For portraits, keep the camera around eye level unless you intentionally want a different effect.
You can also try taking candid photos while someone is walking, laughing, talking, or doing something they enjoy. These moments often look more natural than forced poses.
12. Take Advantage of Reflections
Reflections can make smartphone photos more creative.
Look for reflections in:
- Water
- Glass windows
- Mirrors
- Polished surfaces
- Puddles
- Shiny buildings
You can use a reflection as part of the composition instead of simply photographing the subject directly.
After rain, for example, a small puddle can create an interesting reflection of buildings or trees.
13. Try the Golden Hour
Golden hour refers to the period around sunrise or sunset when sunlight is softer and warmer.
This type of light can make landscapes, portraits, buildings, and outdoor scenes look more attractive.
You do not need professional equipment to take advantage of it. Simply go outside during the right time and experiment with different directions and angles.
The results can be much more interesting than photos taken under harsh midday sunlight.
14. Do Not Forget Night Photography
Night photography can be challenging, but smartphones have become much better at handling low light.
If your phone has a Night mode, experiment with it. Keep the phone as still as possible while the photo is being captured.
Look for interesting sources of light such as shop signs, street lights, windows, or buildings. Instead of trying to make everything bright, use darkness creatively.
Night photos can have a strong mood when you work with the available light.
15. Edit Your Photos, But Keep Them Natural
Editing can improve a good photograph, but it cannot always rescue a badly composed one.
You can use your phone’s built-in editing tools or a photography app to make small adjustments to brightness, contrast, shadows, highlights, and cropping.
Try not to over-edit. Extremely strong filters can make photos look unnatural.
A good rule is to make an adjustment and then reduce it slightly. Natural-looking photographs usually remain enjoyable for longer.
16. Take More Than One Photo
Professional photographers rarely depend on a single shot. You can use the same approach with your smartphone.
Take several pictures from slightly different angles. Change your position, expression, or composition.
Later, choose the strongest image.
This is particularly useful when photographing children, pets, sports, or moving subjects because you cannot always control the moment.
17. Practise With Everyday Objects
You do not need to travel to beautiful locations to improve your photography.
Practise with ordinary things around you. Photograph a cup of coffee, a plant, a book, your room, food, shoes, buildings, or people walking outside.
Give yourself small challenges. For example, try taking five different photos of the same object.
This teaches you how lighting, angles, distance, and composition affect the final image.
18. Study Photos You Like
One of the best ways to improve is to look carefully at photographs you admire.
Ask yourself:
- Where is the subject?
- Where is the light coming from?
- Is the background simple or detailed?
- What colours stand out?
- What angle was used?
- Why does the photo catch my attention?
You do not need to copy another photographer. Instead, use good photographs to understand what makes an image visually appealing.
19. Tell a Story With Your Photos
A strong photograph is not always the sharpest or most colourful one. Sometimes the best photo is the one that communicates an idea or emotion.
When taking a picture, ask yourself what you want the viewer to feel or notice.
A photo of a quiet street after rain can create a peaceful mood. A picture of friends laughing can show happiness and connection.
Think beyond simply recording what you see. Try to capture a moment.
20. Keep Practising
The most important smartphone photography tip for beginners is simple: practise regularly.
You will take some bad photos. That is completely normal. Every mistake teaches you something about lighting, focus, composition, or timing.
Instead of deleting every unsuccessful photo immediately, look at it and ask what went wrong. Maybe the image was too dark, the subject was blurry, or the background was distracting.
With regular practice, you will begin to notice these problems before pressing the shutter.
Final Thoughts
Learning smartphone photography does not require expensive equipment or years of experience. Your phone already gives you a powerful tool for exploring photography.
Start with the basics: clean your lens, use good lighting, keep your phone steady, avoid unnecessary zoom, experiment with composition, and practise different angles. Then slowly explore portrait mode, night photography, reflections, editing, and other creative techniques.
Most importantly, enjoy the process. Take photos of ordinary moments and look for beauty in places you normally ignore. With patience and practice, your smartphone can help you create photos that are not only clear and attractive but also meaningful.
Frequently Asked Questions
1. What is the most important smartphone photography tip for beginners?
Good lighting is one of the most important factors. Whenever possible, use soft natural light and avoid extremely harsh lighting.
2. Should beginners use portrait mode?
Yes, but do not depend on it for every photo. Portrait mode can work well for people and certain objects, but normal photo mode may produce more natural results in some situations.
3. How can I make my smartphone photos sharper?
Clean your camera lens, keep your phone steady, tap the subject to focus, and use enough light. Avoid excessive digital zoom because it can reduce image quality.
4. Do I need a photography app to take good smartphone photos?
No. Your phone’s built-in camera and editing tools are enough to learn the basics. Extra apps can be useful later when you want more control over editing.
5. How can I improve my smartphone photography skills quickly?
Practise regularly and experiment with lighting, angles, composition, and different subjects. Reviewing your photos and understanding what works and what does not will help you improve faster.